
外掛說明
MQTT-Plug brings live MQTT data directly into WordPress using secure WebSocket connections.
It is designed for developers, IoT experimenters, and small production deployments that want real-time visibility without building a custom frontend.
Unlike traditional MQTT tools, MQTT-Plug focuses on embedding live data into WordPress pages, posts, and dashboards, while keeping credentials safe and configuration simple.
Key Features
- Connect to MQTT brokers over WS/WSS
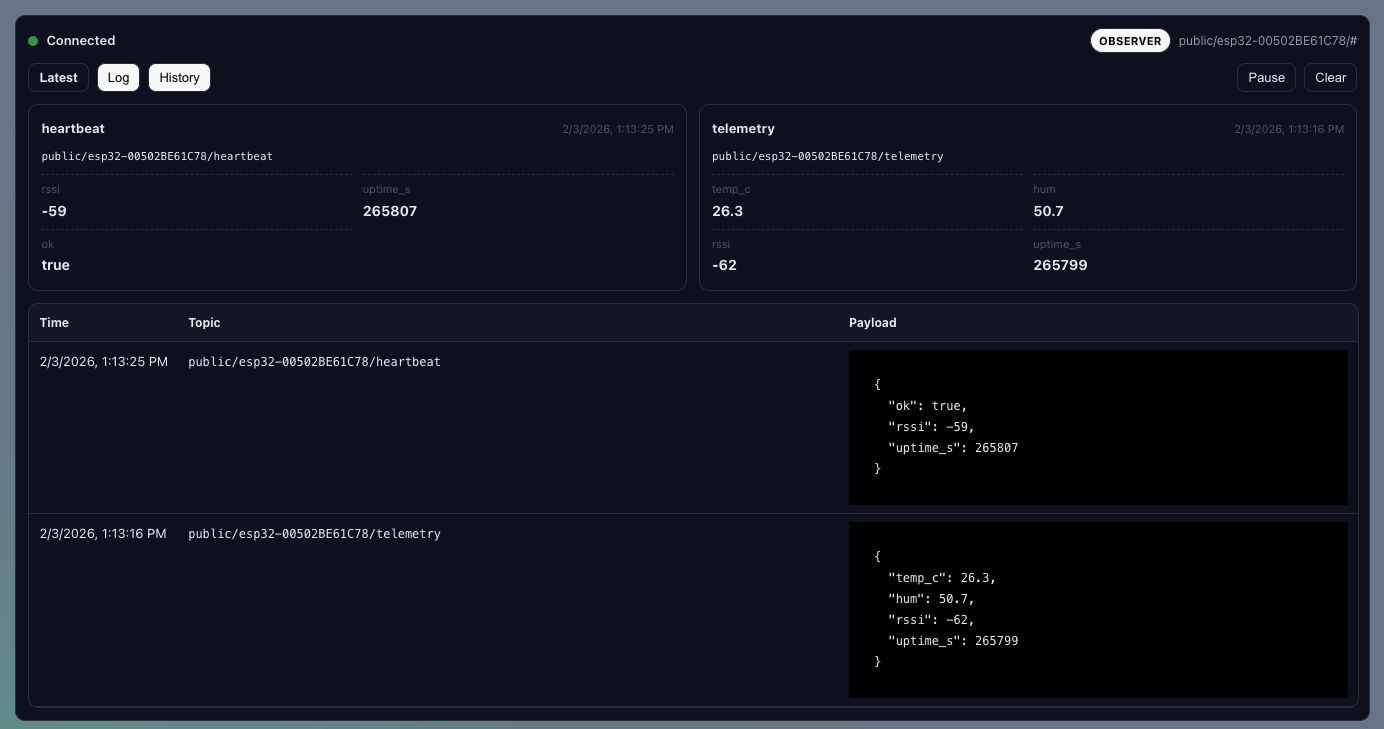
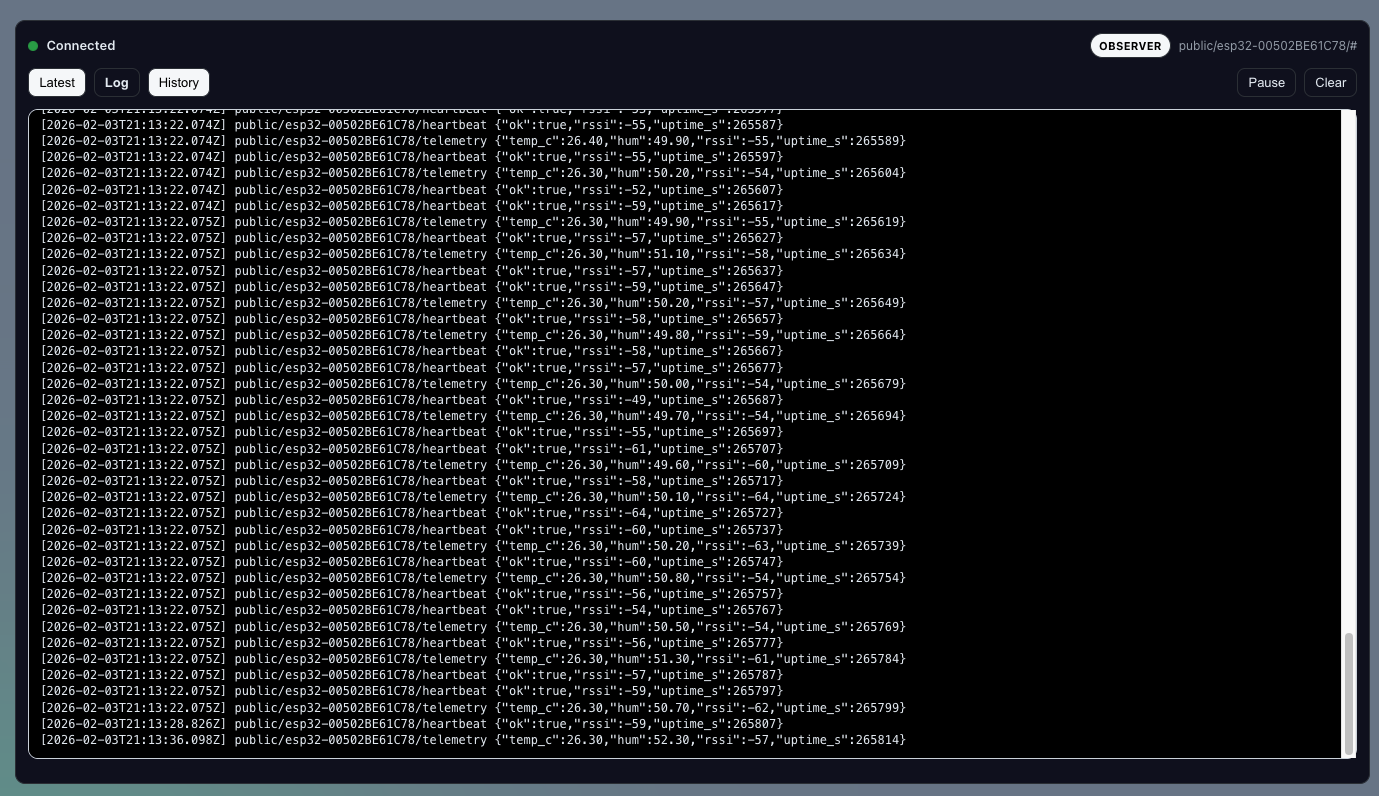
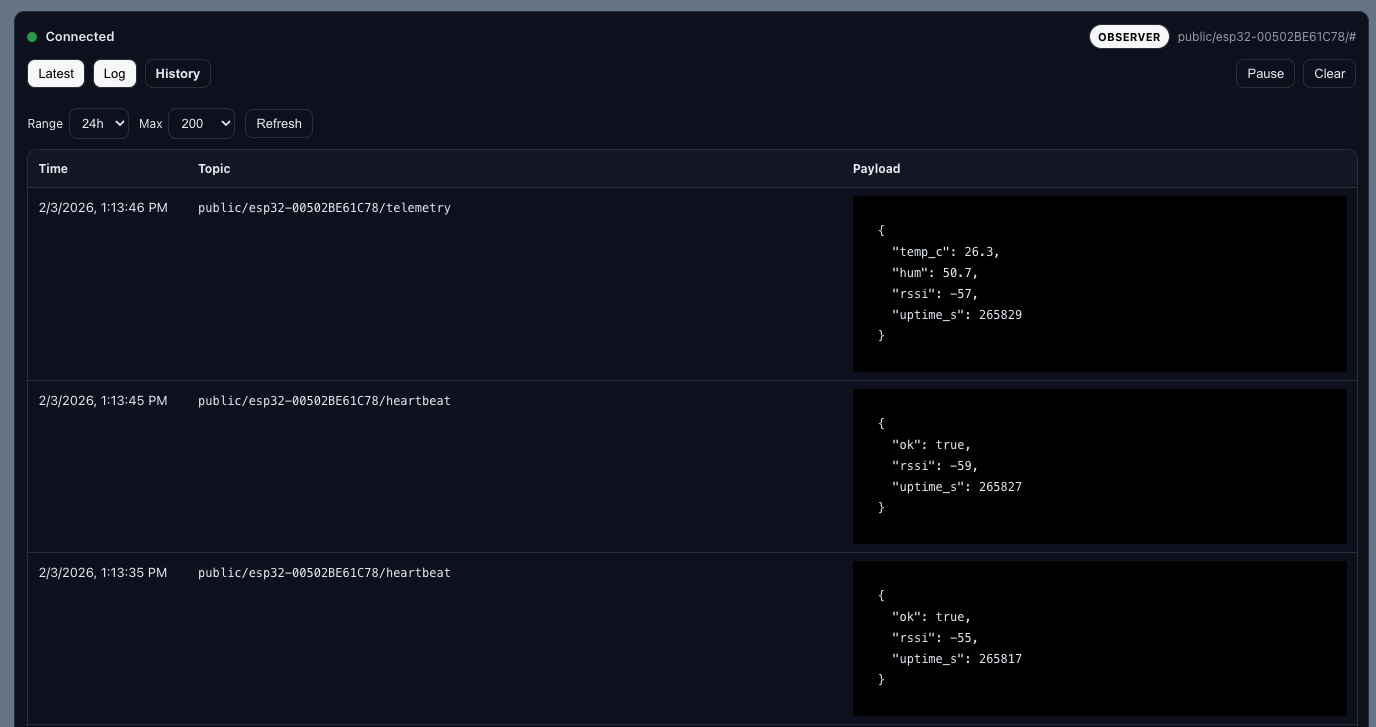
- Live message stream and event log
- Topic-based subscriptions
- Shortcode-driven embeds
- Works with public or authenticated dashboards
- Designed for modern MQTT backends (Mosquitto, EMQX, HiveMQ, The-Link-Builders, managed brokers)
- No external Node services required
- Lightweight; no tracking, no telemetry, no lock-in
MQTT-Plug is infrastructure-agnostic. You control your broker, topics, and data flow.
Configuration
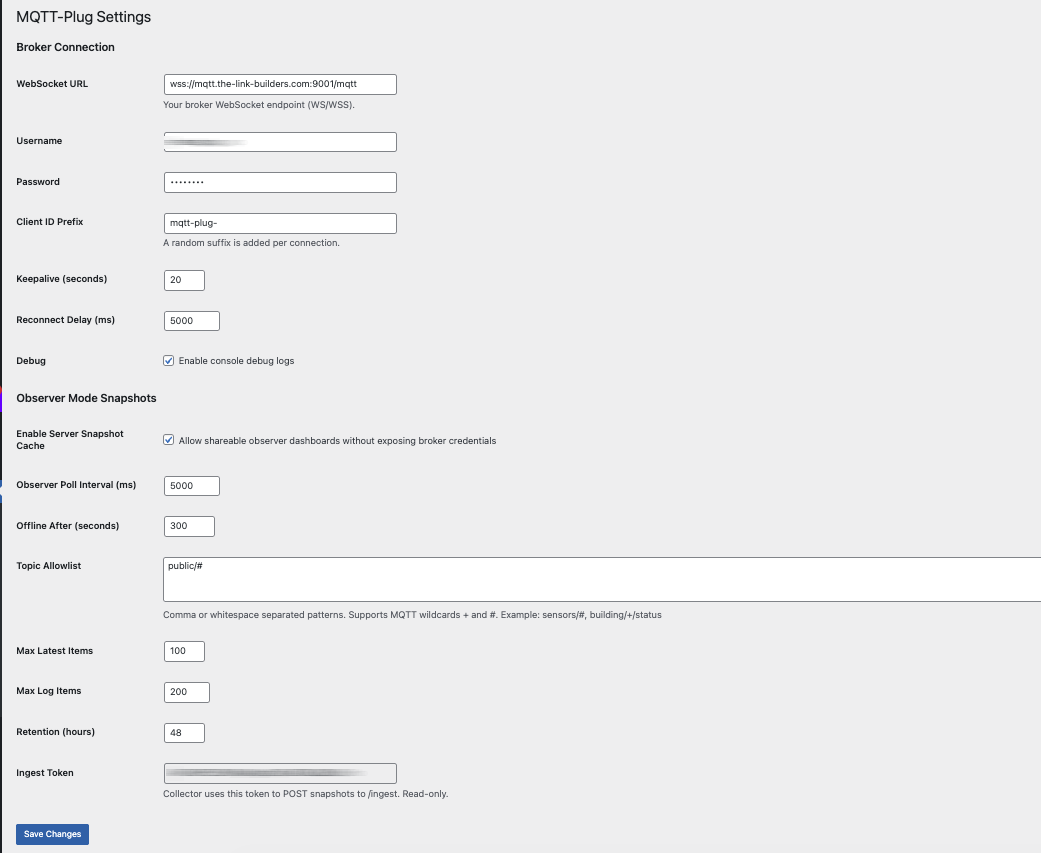
In Settings MQTT-Plug, configure:
- Broker host
- WebSocket port
- TLS / secure connection (WSS)
- Username and password (if required)
- Base topic or subscription filter
- Debug logging (optional)
All credentials are stored using WordPress options and are never exposed to public users unless explicitly enabled.
Usage
Basic shortcode:
[mqtt_plug]
Optional attributes:
height="520px"– set container heightclass="custom-class"– add a CSS hookmode="observer"– server-fed or read-only views (if enabled)
Example:
[mqtt_plug height=”600px” class=”iot-dashboard” mode=”observer”]
Security Notes
- Public pages should not use live credentials.
- Use observer or server-fed modes for public dashboards.
- Always prefer WSS when exposing MQTT over the internet.
- Rotate credentials regularly for production systems.
MQTT-Plug does not open inbound ports on WordPress and does not proxy MQTT traffic through the server unless explicitly configured.
License
GPLv2 or later.
Credits
Developed by Michael Winchester
For documentation and updates, visit https://meshplug.michaelwinchester.com/
螢幕擷圖
安裝方式
- Upload the
mqtt-plugfolder to/wp-content/plugins/, or install via the WordPress plugin installer. - Activate the plugin through the Plugins menu.
- Go to Settings MQTT-Plug to configure your broker connection.
- Add the shortcode to any page or post.
常見問題集
-
Does this replace my MQTT broker?
-
No. MQTT-Plug is a viewer and frontend. You still need an MQTT broker.
-
Which brokers are supported?
-
Any MQTT broker that supports WebSockets, including Mosquitto, EMQX, HiveMQ, and managed services.
-
Can I use this for production systems?
-
Yes, provided you follow standard MQTT security practices. For large-scale or multi-tenant systems, a managed broker is recommended.
-
Is JavaScript required?
-
Yes. MQTT-Plug uses browser-based WebSocket connections for live data.
使用者評論
這個外掛目前沒有任何使用者評論。
參與者及開發者

變更記錄
1.0
- Initial stable release
- Hardened settings validation
- Improved connection lifecycle handling
- Observer-safe rendering
- Clean shortcode API
- Production-ready defaults